Thursday 29 October 2015

NEW - Little Skipping Friends

Greetings friends. I've just popped in to tell you about a second 'Little Friends' pattern. This one is named 'Little Skipping Friends'.


Four cute 15cm (6in) knitted dolls with their skipping ropes. Maggie, Mary, Milly and May are made from the same basic pattern but their pretty clothes and hair styles give them a very different appearance.


The easy to follow knitting and sewing patterns will utilise lots of odds and ends of yarn and fabric.


Milly can be made with a sweet blue cardigan


Or you might want her to look more like Milly Molly Mandy in the famous story books. You will find instructions for both options in the pattern.


The traditional Milly Molly Mandy wears a pink and white striped dress with short sleeves.
 
You'll need pink and white striped cotton. The stripes should be approximately 3mm wide.


Imagine living in Milly Molly Mandy's little white cottage with a thatched roof. There are roses round the door and hollyhocks peeping in through the windows. . . . perfect.


You'll find the 'Little Skipping Friends' pattern in my three shops -


Wednesday 21 October 2015

NEW KNITTING PATTERN - Little Friends in Autumn

Greetings friends. I've been very busy recently creating a new pattern for my 'Little Friends' and if you've been popping into Dollytime on Facebook you'll have already seen some of these little dolls.

 
You are invited to take a trip down Memory Lane and meet five Little Friends - Tina, Anne, Josie, Linda and Bobby.
 
They attend a 1950s village school where little girls like to have ribbons in their hair and wear short skirts and dresses.
 
 
And little boys wear short trousers.
 
 
And children have rosy cheeks because they play outside in all weathers.

 
The dolls were inspired not only by fond memories of my own school days in a small English village but also by Miss Read's wonderful stories about day to day life in her village school during the 1950s.
 
 
I have a strip of knitting and some buttons that date back to the 1950s and so I was able to select colours that would have been worn in those far off days before synthetic yarn was available and everyone happily knitted 3 ply and 4 ply wool. (Never fear, I used modern DK yarn for the dolls!)
 
 
The Little Friends measure 15cm (6in)
and are knitted on two 2.75mm needles (US size 2).
 
 
I'm happy to tell you that the knitting pattern is now complete and available from my online shops.

 
So if you are looking for small items to knit with odds and ends of yarn why not take a trip down Memory Lane where autumn days are growing chill and the children love to run through crunchy fallen leaves. Knitting by the fireside seems a very inviting prospect.
 
LITTLE FRIENDS in AUTUMN knitting pattern is available from:

LOVEKNITTING (my UK shop) and from ETSY and RAVELRY
 
I hope you have fun making your own Little Friends. Happy knitting everyone.

Tuesday 18 August 2015

Little Friends

Over the summer I've had great fun making tiny dolls inspired by Milly Molly Mandy stories and Miss Read's 'Village School' books.


Each little doll is 15cm (6in) tall. 


They are all dressed as 1950s children and wear cotton frocks with full skirts, cardigans, sandals and short white socks.

  
The little friends love to skip and each little girl holds her own skipping rope. 


Summer will soon be over and it will be time for school again but for now they happily spend their days skipping around their village.
 
 
These four little friends can be found in my Jollymakes Etsy shop.


Thursday 23 July 2015

Rosie cheeks for knitted dolls

If you are a knitter who is nervous about giving your newly knitted doll some rosie (blushing) cheeks then you might find this post helpful.
 

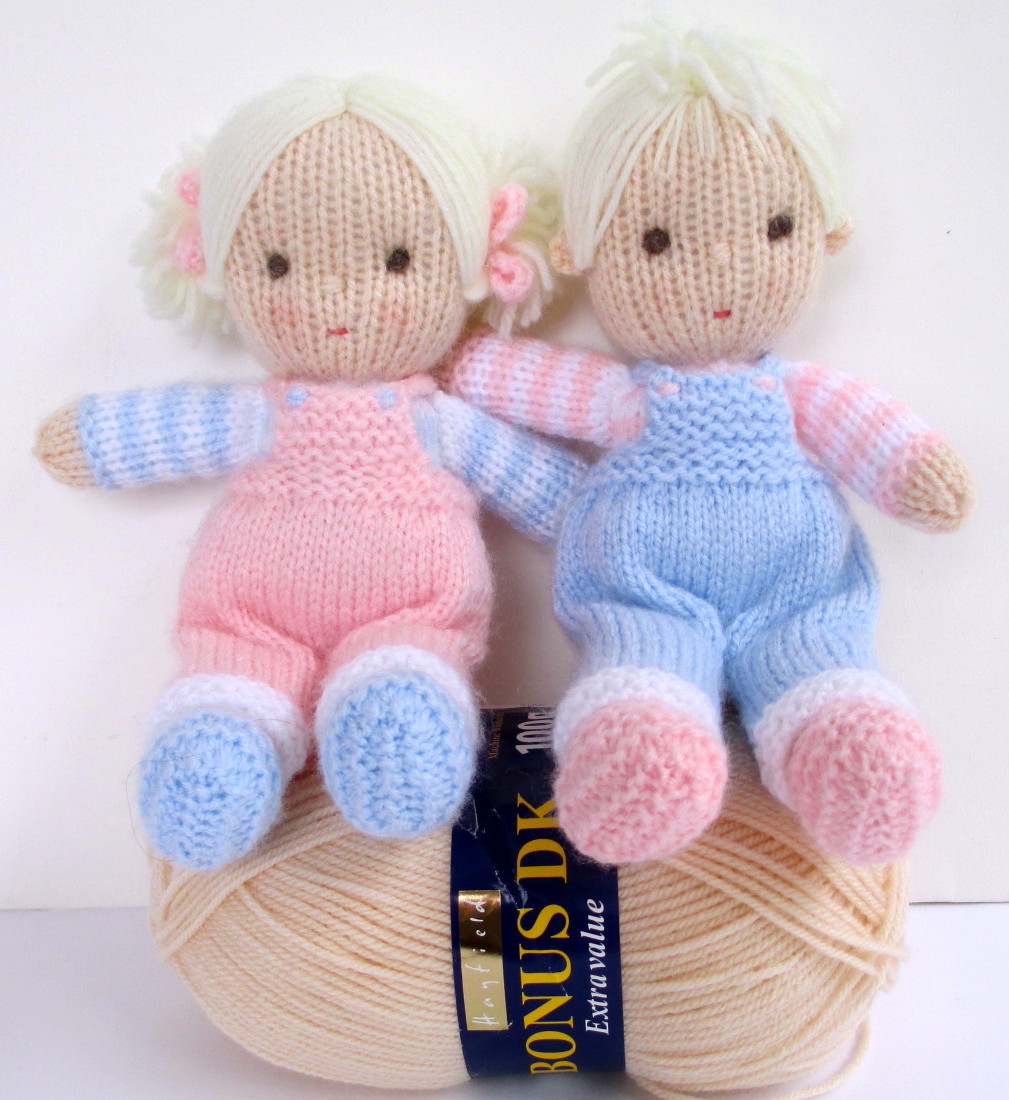
I always give my dolls rosie cheeks. I expect I’m influenced by illustrations in children’s books like the one above but mainly I think it is because rosie cheeks bring a dolly to life and even make her look happier.

Needless to say I had a rush of volunteers who were very keen to show off their glowing cheeks for the photo. (Thank you girls, you all look absolutely lovely!!)


Searching through my 2010 photo archives I found this picture of Lucy Lavender when she had just been completed but before she was given rosie cheeks.


The photo below shows her just after she was given rosie cheeks and I think she looks much happier don’t you?


I’ve always applied colour with pencil crayon or wax crayon and these days I prefer wax. Crayons with rounded ends, like the two in the centre, are much kinder to the knitted fabric. Crayons with sharp points like the one on the left are to be avoided as they can snag the stitches.


Cheeks tends to fade eventually and Little Daisy now needs a new application of colour. 

 
When making cloth dolls it is often best to first add the colour to a clean piece of cotton cloth and then gently rub it on the cheek area until you've deposited enough colour.
 

Unfortunately this method can cause the fibres of knitted fabric to lift and dolly might end up with ‘fuzzy cheeks’.


I like to apply colour directly onto the face with the crayon and Little Daisy knows to sit very still while I give her ‘the cheek treatment’.

USEFUL TIP – If you haven’t done it before you might be afraid of spoiling your newly knitted dolly so why not practice making cheeks on the back of the doll’s head just before you add the hair. You will soon achieve the effect you require and the hair will hide your test cheeks.

When making cheeks avoid horizontal colouring (left) or haphazard colouring (right) as these will pull the stitches apart and distort the face.

 
Careful circular colouring can work (left) but the method I prefer is to make vertical strokes as this follows the direction of the little ladders made by the knitted stitches. Start in the centre and work outwards making light strokes at first but then gently add more pressure until you have the depth of colour you require.

 
NB - If your doll has a nervous disposition you might want to skip the next bit!!
 
When I’ve coloured cheeks with wax crayon I sometimes place a tissue over a finished cheek and gently apply the tip of a ‘warm’ iron. The iron should be just hot enough to melt the wax under the tissue so that some of it will be absorbed by the knitted fibres and some will be removed by the tissue. Add more colour and repeat the process if necessary. This method isn’t something I’d advise everyone to try but if you’d like to give it a go then experiment on a spare piece of knitting before doing it on the doll’s face.


The finished cheeks should be more permanent and less likely to fade.
 
 
Finally, two of my dolls have stepped in to insist that their felt cheeks are by far the best!!
 

Simply cut two identical circles of pink felt and stitch them in place. I’ve found the easiest and most secure way to fix the circles is to make 8 stitches to create a cartwheel pattern. Use 2 strands of embroidery floss or ordinary sewing thread and with every stitch make sure you come up through the centre of the felt circle and go back down at the edge through the face not the felt. Don’t be tempted to go from one side of the circle to the other with a single stitch as the result could look untidy and the felt won't be as secure. If you aren't happy with the way the cheeks look then you can simply cut the stitches and start again.


Happy cheek making everyone!

Friday 19 June 2015

Alice in Wonderland

This year, 2015, Alice's Adventures in Wonderland by Lewis Carroll celebrates it's 150th anniversary. It was first published in 1865 and has been a popular children's classic ever since.


The story has been illustrated many times over the years by a wide variety of artists, all with their own individual styles and interpretations of each character.


Perhaps the most recognisable illustrations are the originals done by John Tenniel in the 1860s. He produced satirical cartoons for Punch magazine and this style is evident in his Alice in Wonderland illustrations which were originally in black and white. Later they were tinted with colour.


Tenniel's tinted illustrations became very popular and were used for a number of children's games and toys (see above).


It is the brightly coloured Disney cartoon illustrations that today's children will recognise (see above).


If you would like to make a Wonderland Rabbit like these you will find both colour combinations in my knitting pattern. There is even a template for the pocket watch which is of course an essential addition!

The doll in my Alice in Wonderland pattern has yellow hair (tied with a ribbon). She wears a blue dress and white apron just as the Disney Alice did. The original Alice in Tenniel's tinted pictures wore a yellow dress but somehow I think blue suits her better.


Knitting patterns for Alice and the White Rabbit can be found in my Etsy and Ravelry shops and on Loveknitting where patterns are prices in GB pounds.


Monday 8 June 2015

FREE PATTERN - Fairy and pin cushion

I thought I’d start the week by showing you the free knitting pattern I’ve just put online. This tiny (5cm) fairy is attached to a pin and happily sits in her pin cushion garden.


The fairy would, I'm sure, be happy to sit on any pin cushion but this pretty one is quick and easy to knit and easily constructed from two 13cm (5in) squares knitted in garter stitch.


It is very easy to stitch together in the biscornu style (Google for 'biscornu' if you aren't familiar with this).


The fairy pins are quick and easy to make from short lengths of yarn. Make one and I'm sure she'll soon be joined by a friend!!


The FREE download for the fairy and the pin cushion is currently


You'll find regular updates about my knitting and family of knitted dolls

Wednesday 3 June 2015

Yarn choice

Dolls come in many different colours and styles these days and (like people) their skin tones vary widely around the world. So when asked to recommend a particular yarn for a flesh colour I find it difficult and am only able to tell you which yarn I use here in the UK and why I choose it for my dolls.

 
The question I get asked most frequently by knitters is "Which yarn shall I use as the flesh colour? Should it be baby pink, peach or cream?"
I never recommend baby pink; cream can be OK but can be a bit bland, so a shade of peach seems the best option. But if you want to put your dolls in pale coloured clothing a peach colour can appear too strong (see photo above).
 
Luckily I have found what is for me the ideal colour and this is the one I recommend (see below). I suppose I'd describe it as a warm cream with a hint of very pale peach. It is widely available here in the UK but for obvious reasons I'm not able to guarantee it's availability in other countries.
 
 
My number one choice is Hayfield Bonus DK and the colour is 'Flesh Tone'. The shade number is 0963. The 100g balls are 100% acrylic. The thickness and quality of the yarn is perfect for dolls heads, bodies, arms and legs.
 
 
This flesh colour works well with pale pinks and other pastel shades.
 
I use it for my largest dolls and my smallest.
 
 
I've used this yarn for a number of years and so asked for a few dolls to pose with a ball of Hayfield Bonus DK. As you can see I was inundated with volunteers. Looking at their smiling faces I think I can safely say they are all very happy with the way they look!
 
 
By now many doll knitters will have discovered their own favourite shades but if you are still undecided then try Hayfield Bonus DK. It is available from many high street shops and by mail order from online companies many of whom will mail it oversees if you are unable to find it closer to home.  Happy dolly knitting to you all.