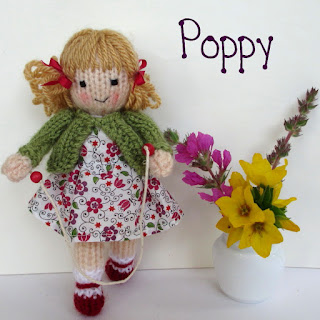
If you are a knitter who is nervous about giving your newly knitted doll some rosie (blushing) cheeks then you might find this post helpful.
I always give my dolls rosie cheeks. I expect I’m influenced by illustrations in children’s books like the one above but mainly I think it is because rosie cheeks bring a dolly to life and even make her look happier.
Needless to say I had a rush of volunteers who were very keen to show off their glowing cheeks for the photo. (Thank you girls, you all look absolutely lovely!!)
Searching through my 2010 photo archives I found this picture of Lucy Lavender when she had just been completed but before she was given rosie cheeks.
The photo below shows her just after she was given rosie cheeks and I think she looks much happier don’t you?
I’ve always applied colour with pencil crayon or wax crayon and these days I prefer wax. Crayons with rounded ends, like the two in the centre, are much kinder to the knitted fabric. Crayons with sharp points like the one on the left are to be avoided as they can snag the stitches.
Cheeks tends to fade eventually and Little Daisy now needs a new application of colour.
When making cloth dolls it is often best to first add the colour to a clean piece of cotton cloth and then gently rub it on the cheek area until you've deposited enough colour.
Unfortunately this method can cause the fibres of knitted fabric to lift and dolly might end up with ‘fuzzy cheeks’.
I like to apply colour directly onto the face with the crayon and Little Daisy knows to sit very still while I give her ‘the cheek treatment’.
USEFUL TIP – If you haven’t done it before you might be afraid of spoiling your newly knitted dolly so why not practice making cheeks on the back of the doll’s head just before you add the hair. You will soon achieve the effect you require and the hair will hide your test cheeks.
When making cheeks avoid horizontal colouring (left) or haphazard colouring (right) as these will pull the stitches apart and distort the face.
Careful circular colouring can work (left) but the method I prefer is to make vertical strokes as this follows the direction of the little ladders made by the knitted stitches. Start in the centre and work outwards making light strokes at first but then gently add more pressure until you have the depth of colour you require.
NB - If your doll has a nervous disposition you might want to skip the next bit!!
When I’ve coloured cheeks with wax crayon I sometimes place a tissue over a finished cheek and gently apply the tip of a ‘warm’ iron. The iron should be just hot enough to melt the wax under the tissue so that some of it will be absorbed by the knitted fibres and some will be removed by the tissue. Add more colour and repeat the process if necessary. This method isn’t something I’d advise everyone to try but if you’d like to give it a go then experiment on a spare piece of knitting before doing it on the doll’s face.
The finished cheeks should be more permanent and less likely to fade.
Finally, two of my dolls have stepped in to insist that their felt cheeks are by far the best!!
Simply cut two identical circles of pink felt and stitch them in place. I’ve found the easiest and most secure way to fix the circles is to make 8 stitches to create a cartwheel pattern. Use 2 strands of embroidery floss or ordinary sewing thread and with every stitch make sure you come up through the centre of the felt circle and go back down at the edge through the face not the felt. Don’t be tempted to go from one side of the circle to the other with a single stitch as the result could look untidy and the felt won't be as secure. If you aren't happy with the way the cheeks look then you can simply cut the stitches and start again.
Happy cheek making everyone!


